
If your heater is running but the house still feels cold, the problem is usually air leaks—not the thermostat. Drafts pull warm air out, let cold air in, and make certain rooms feel impossible to heat.
The good news: you can make a noticeable difference in comfort in an afternoon. The U.S. Department of Energy recommends simple air-sealing methods like caulking and weatherstripping because they’re effective and often pay back quickly. Air Sealing Your Home (Energy Saver)
Below is a practical, no-fluff guide to finding drafts, sealing gaps fast, and what’s worth spending a little money on so your home stays warmer (and your heating system works less).
Start Here: A 10-Minute “Draft Hunt” You Can Do Today
Pick a cold or windy time and check these spots first:
- Exterior doors (bottom gap, latch side, and top corners)
- Windows (trim edges, corners, and where the sash meets the frame)
- Outlets and switches on exterior walls
- Fireplace dampers and old chimneys
- Attic access hatch / pull-down stairs
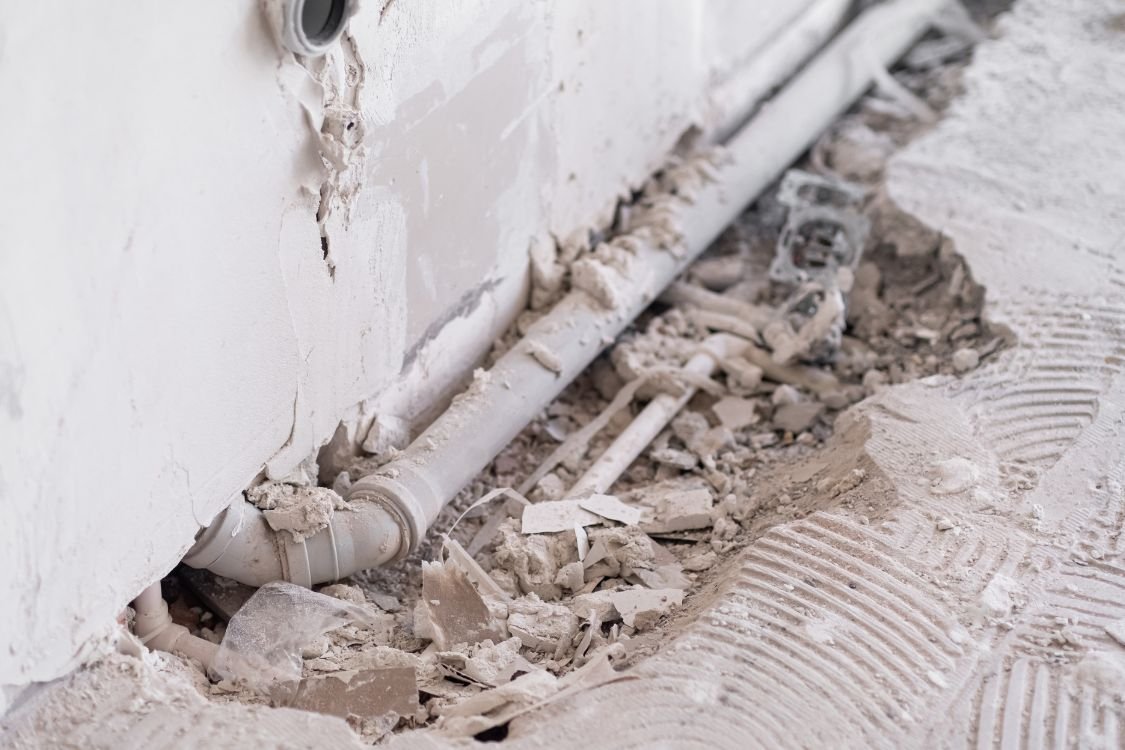
- Where pipes/wires enter the house (under sinks, water heater area, behind the washer)
Easy draft tests:
- Hand test: feel for cold air along edges
- Tissue/incense test: hold near a seam and watch airflow
- Dollar-bill test (doors): close the door on a bill—if it slides out easily, your seal is weak
Pro tip: Seal the biggest leaks first. Air takes the path of least resistance, so large gaps matter more than tiny cracks. DIY: Using Caulk to Seal Air Leaks (Energy Saver)
Fast Fixes That Make the Biggest Difference
1) Doors: weatherstrip + door sweep (highest ROI)
If you do one thing, do this. Most homes lose a ton of heat at exterior doors.
- Add a door sweep (or replace a worn one) to stop the “cold line” at the bottom.
- Replace weatherstripping around the jamb if it’s flattened, cracked, or missing.
- Seal the threshold corners (those tiny gaps at the bottom corners can be surprisingly drafty).
Weatherstripping is intended for movable components like doors and operable windows. Weatherstripping Guide (Energy Saver)
2) Windows: stop drafts without replacing the window
Window replacement is expensive. Draft control is cheap.
- Caulk stationary gaps where trim meets wall (inside and outside where appropriate).
- Replace worn sash seals or add removable sealing tape for the season.
- Install a window insulation film kit on drafty windows for winter (great for older frames).
If you want a simple “what works” reference, Consumer Reports has tested window insulation kits: Best Window Insulation Kits (Consumer Reports)
3) Outlets and switches on exterior walls (cheap, surprisingly effective)
If you feel cold air around outlet plates, you’re not crazy—those boxes can leak.
- Install foam outlet gaskets behind outlet/switch plates.
- Add child-safety plugs (they also reduce airflow on unused outlets).
ENERGY STAR’s sealing guidance includes air leaks around common penetrations and openings: Seal & Insulate with ENERGY STAR
4) Under-sink and utility penetrations (big holes disguised as “normal”)
Look under kitchen/bath sinks and around the water heater / laundry area.
- Use caulk for small gaps.
- Use expanding foam for larger holes (sparingly—foam expands a lot).
- Use high-temp rated sealant near heat sources (don’t use standard foam where it’s not allowed).
5) Fireplace: close the damper and stop the chimney draft
Even when you never use the fireplace, the chimney can act like a giant exhaust fan pulling warm air out.
- Make sure the damper closes fully.
- Consider a chimney balloon or draft blocker (remove before using fireplace).
- Close the glass doors when not in use.
6) Attic access hatch / pull-down stairs (often the biggest hidden leak)
Warm air rises. If your attic access is unsealed, your heat is literally escaping upward.
- Add weatherstripping around the hatch.
- Add an insulated cover over pull-down stairs.
ENERGY STAR has DIY guides for air sealing and attic insulation strategies: DIY Guide: Sealing Air Leaks & Adding Attic Insulation (ENERGY STAR PDF)
What’s Worth Spending a Little Money On
You don’t need a huge budget. A few smart purchases can dramatically improve comfort:
1) Quality weatherstripping + door sweep set
Buy better materials once instead of redoing it every season. Look for durable rubber or silicone seals (especially for doors that get heavy use).
Consumer Reports also reviews weather stripping and window sealing tapes (useful if you want to compare types): Best Weather Stripping & Sealing Tapes (Consumer Reports)
2) Window insulation film kits (for the worst offenders)
If you have one or two rooms that are always colder, a film kit on those windows is one of the fastest comfort upgrades.
3) Thermal curtains or cellular shades
Especially helpful for older windows and big glass sliders. Curtains won’t fix an air leak, but they reduce the “cold radiating” feeling at night.
4) An attic air-seal + insulation upgrade (if you’re ready for a bigger win)
If you’re spending money anywhere, this is usually the best place—but air seal first, then insulate. Insulation works best when airflow is controlled. Seal & Insulate Guidance (ENERGY STAR)
5) A smart thermostat (only if your schedule is consistent)
If you forget to dial temps down at night or when you’re away, a smart thermostat can help. If you already manage temps well manually, air sealing typically provides more comfort improvement first.
Renter-Friendly (No-Permanent-Change) Options
- Draft stoppers for doors
- Removable weatherstripping tape
- Window film kits
- Thermal curtains + tension rods
- Area rugs (especially over uninsulated floors)
Important Safety Notes (Don’t Seal Your Home “Too Tight” the Wrong Way)
Air sealing is great—but combustion appliances still need safe venting. Never block vents or exhaust pathways.
- Install and test carbon monoxide (CO) alarms.
- Keep exterior vents clear (furnace, dryer, fireplace, etc.), especially after snow/ice.
- Never run a car in a garage and never run generators indoors.
EPA’s winter indoor air safety guidance is worth a quick read: Winter Weather & Indoor Air Quality (EPA) and Carbon Monoxide Poisoning Prevention (EPA).
A Simple Weekend Plan (If You Want a Clear Checklist)
- Hour 1: Draft hunt + mark leaks with painter’s tape
- Hour 2: Door sweep + door weatherstripping
- Hour 3: Caulk window trim gaps + outlet gaskets
- Hour 4: Seal plumbing/wiring penetrations + attic hatch weatherstrip
- Optional: Window film kits for the coldest rooms
Want more home-upgrade guidance and practical tips? Visit Helpful Tips or explore real transformations in Properties. When you’re ready to plan a bigger improvement, reach out here: Contact Modern Living Real Property.